Showing posts with label STEM is for Blind kids. Show all posts

Thursday, July 25, 2019

Teach the ECC Using a Hoverboard

a graphic that says "teach the expanded core using a hoverboard"
Teach the Expanded Core using a.....hoverboard? YES! A hoverboard!! Why? How? Huh? Let me start at the beginning. I spent a few weeks mulling over the activities for STEM Camp. I already knew the theme (STEM Camp in the Old Pioneer West) but needed to do my research for other activities. I look for STEM activities that are popular with all kids. I want to keep our students looped in with what their peers are liking. I walked passed a hoverboard while buying some supplies and instantly made a U turn. I was going back for the hoverboard. I had an idea! 

a female student kneels down and checks out a hoverboard
I knew that it would be a total blast to teach my students how to use a hoverboard at STEM Camp. I loved this idea not just because I thought it would be cool but because my ECC lightbulb went off. There were so many things I could teach to build an awesome ECC experience! It was just hoverboards that I purchased, I rounded up different types of helmets, photos and pieces for location and got to work. 
the group of students sit with the teacher on the floor with their legs extended

Before we even got on the hoverboards, we needed to do some serious concept development, STEM instruction and pre-teaching. First, I set the stage and we discussed what everyone knew about hoverboards and all things related to them (helmets, locations, etc). 
Then we get to the STEM of it all. We talked about the parts of the hoverboard, the science of it and how they work. This was a bonus because I could teach STEM and the ECC at the same time. Students learned where to place their feet, how wide the foot pad sensors are and positioning. We sat on the floor and extended our legs to practice tipping our toes and working our heels. I bought different types of helmets on purpose to discuss the features, uses, etc. of the helmets. 

a female student wearing a fun helmet sits on the ground and checks out the hoverboard
Can you see all of the attention I'm giving to the details? Too many times I see teachers just pass the object to a students a move on. I purposely gave students a variety of helmets and bought different brands/types of hoverboards. I wanted them to get a rich experience and concept development. 

a female student sits on the ground and checks out the hoverboard
Can you see how many areas of the ECC we are hitting? I was so excited throughout our initial hoverboard lesson because it was like an ECC buffet! We hit lots of orientation and mobility--from spatial awareness to directionality and balance. (Once students got their balance, we did have them use their canes if they were a cane user). We even hit career education. How? We discussed the rules and earning your dues at the skate park. We also discussed what types of jobs you could have in the skate industry. 
students stand on the hoverboard with teachers standing in front of them holding their hands
Let me share some of my instruction progression on how we taught the hoverboard. Most important, use a chair to get on and off! The very first thing we did was just simply having students stand up, balance and then sit down. Once they could stand up and maintain their balance, I knew they were ready to move on. Students must wear a helmet at all times. 
Students then learned how to move forward and backwards. This was great because they learned a lot about body awareness and control. Each student had an adult staff in close proximity. I also had a teenager who had typical vision there to model, support and talk with students about her experience.

a female student moves forward on a hoverboard
It took all of the students about one full day of hoverboard practicing to grow to mastering it. Everyone, students with low vision to no vision were rocking their skills on the hoverboards! It was awesome to watch my students with no vision cruising along with their canes. They just adjusted their speed and coordinated with their canes to find their way up and down our hallways. 
a male teenager moves on the hoverboard and uses his cane
The next time you are looking for a fun ECC lesson, consider a lesson with a hoverboard! I bought my boards from Walmart. (I actually price matched walmart.com and got an even better price). I purposely bought different boards to compare and contrast. I even bought one with a bluetooth speaker built in!
a male teenager moves on the hoverboard and uses his cane
Another bonus: the confidence that all of our students gained by mastering the hoverboard! Yaaaassss! They learned the physics behind the hoverboard. They were fearless with gaining speed and fluidity. It was just an ECC party with students learning skills a lot of people probably don't think blind kids can do! It's not about what we see, it's about what we do! 


Thursday, May 23, 2019

Teach the Expanded Core Using the Play Impossible Gameball

Graphic that says Teach the Expanded Core Curriculum using the Play Impossible Gameball
I am so excited to share my new favorite Expanded Core activity: the Play Impossible Gameball! Have you tried it yet? I learned about it while at the Apple Store with an employee. I was instantly intrigued with its potential but worried about accessibility. There are so many fun new STEM ideas coming out but their apps are not accessible. Not the case with Play Impossible Gameball! 
There is a ton of potential with the gameball. I use it for STEM but of course can teach loads of other ECC skills. NOTE: take time to go through the app before you let students play with it. Consider all of the things you need to preteach. 

A photo of the Game possible screen app that shows the list of all the games.

The app allows you to play with just one player or in teams. You can play with one ball or two balls. The balls charge super fast! You can purchase them in a few places but I bought on Amazon. They are about $80 per ball. Kinda pricey but worth it! 
Check out general information on their site: https://www.playimpossible.com

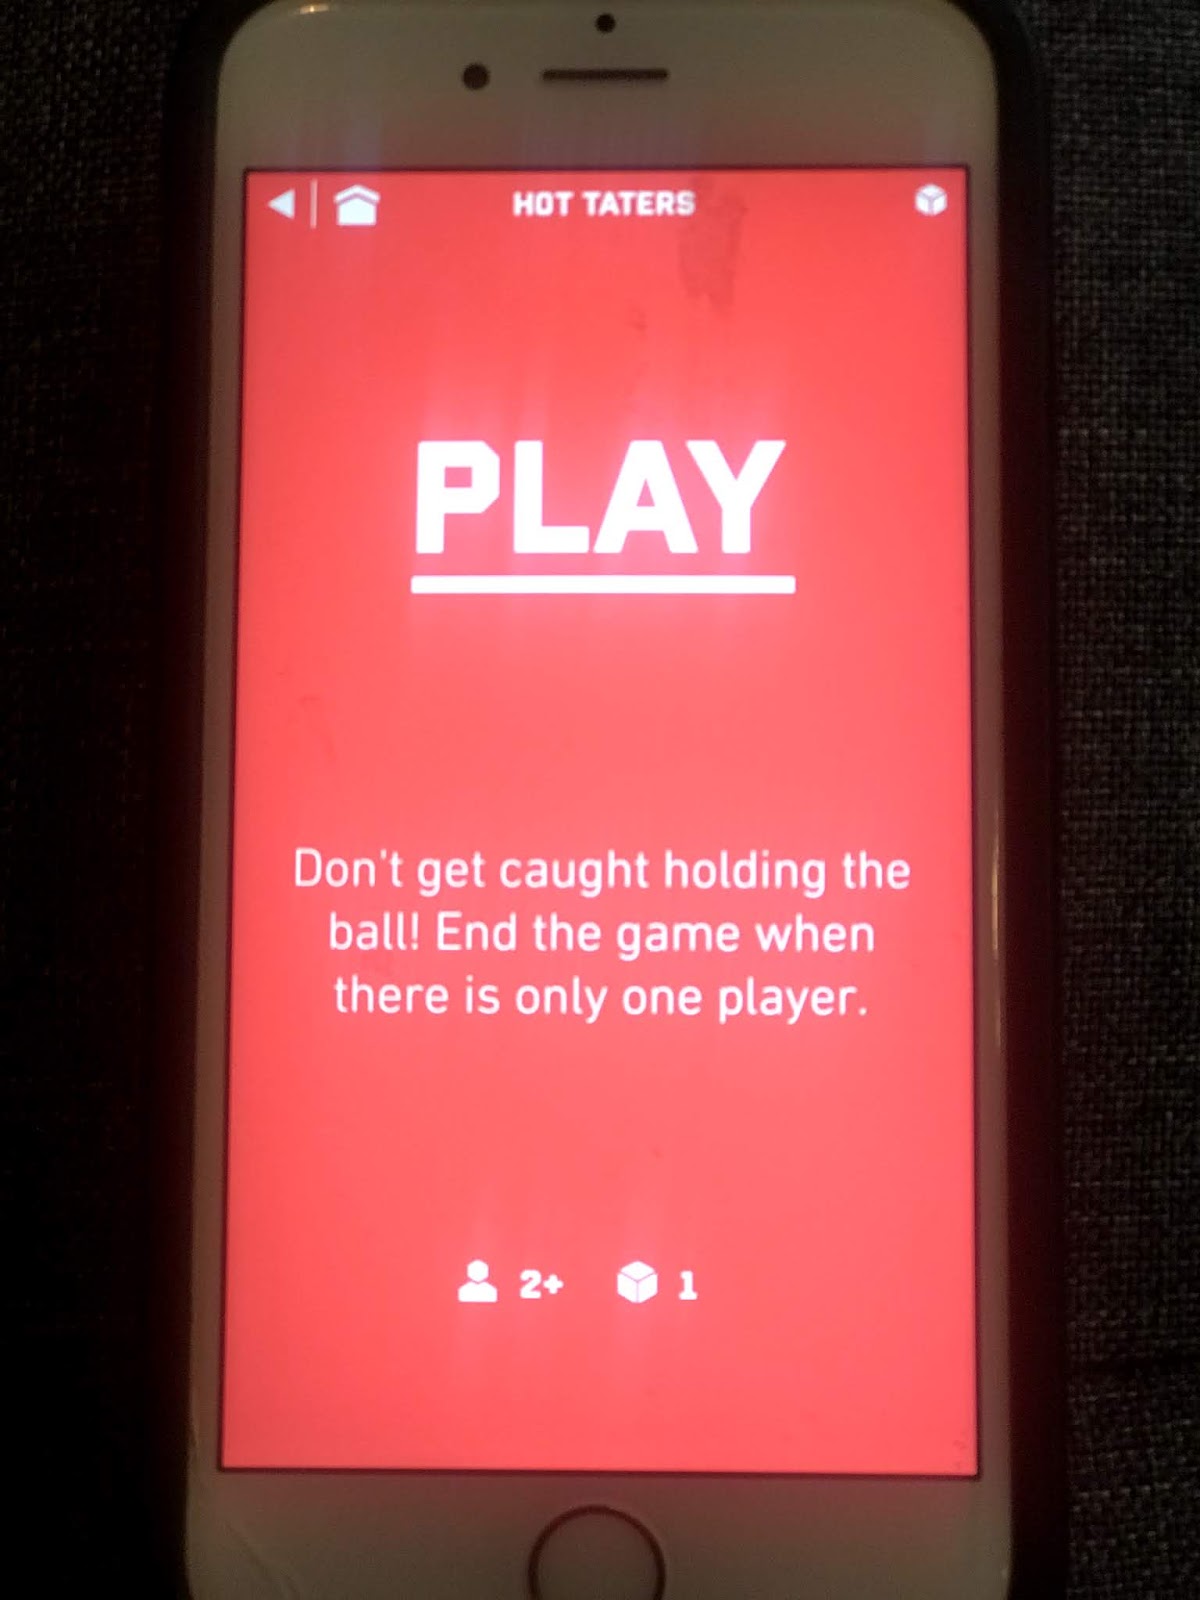
Screen of the app that says "play" with the directions for a game.
The ball is fun to play for just recreation and leisure skills. I tested out the app and its accessibility with our assistive technology teacher (who is completely blind) and our education tech guy. You can see how they did on Instagram. Follow me on 9MoreThanCore on Instagram to see the demo!

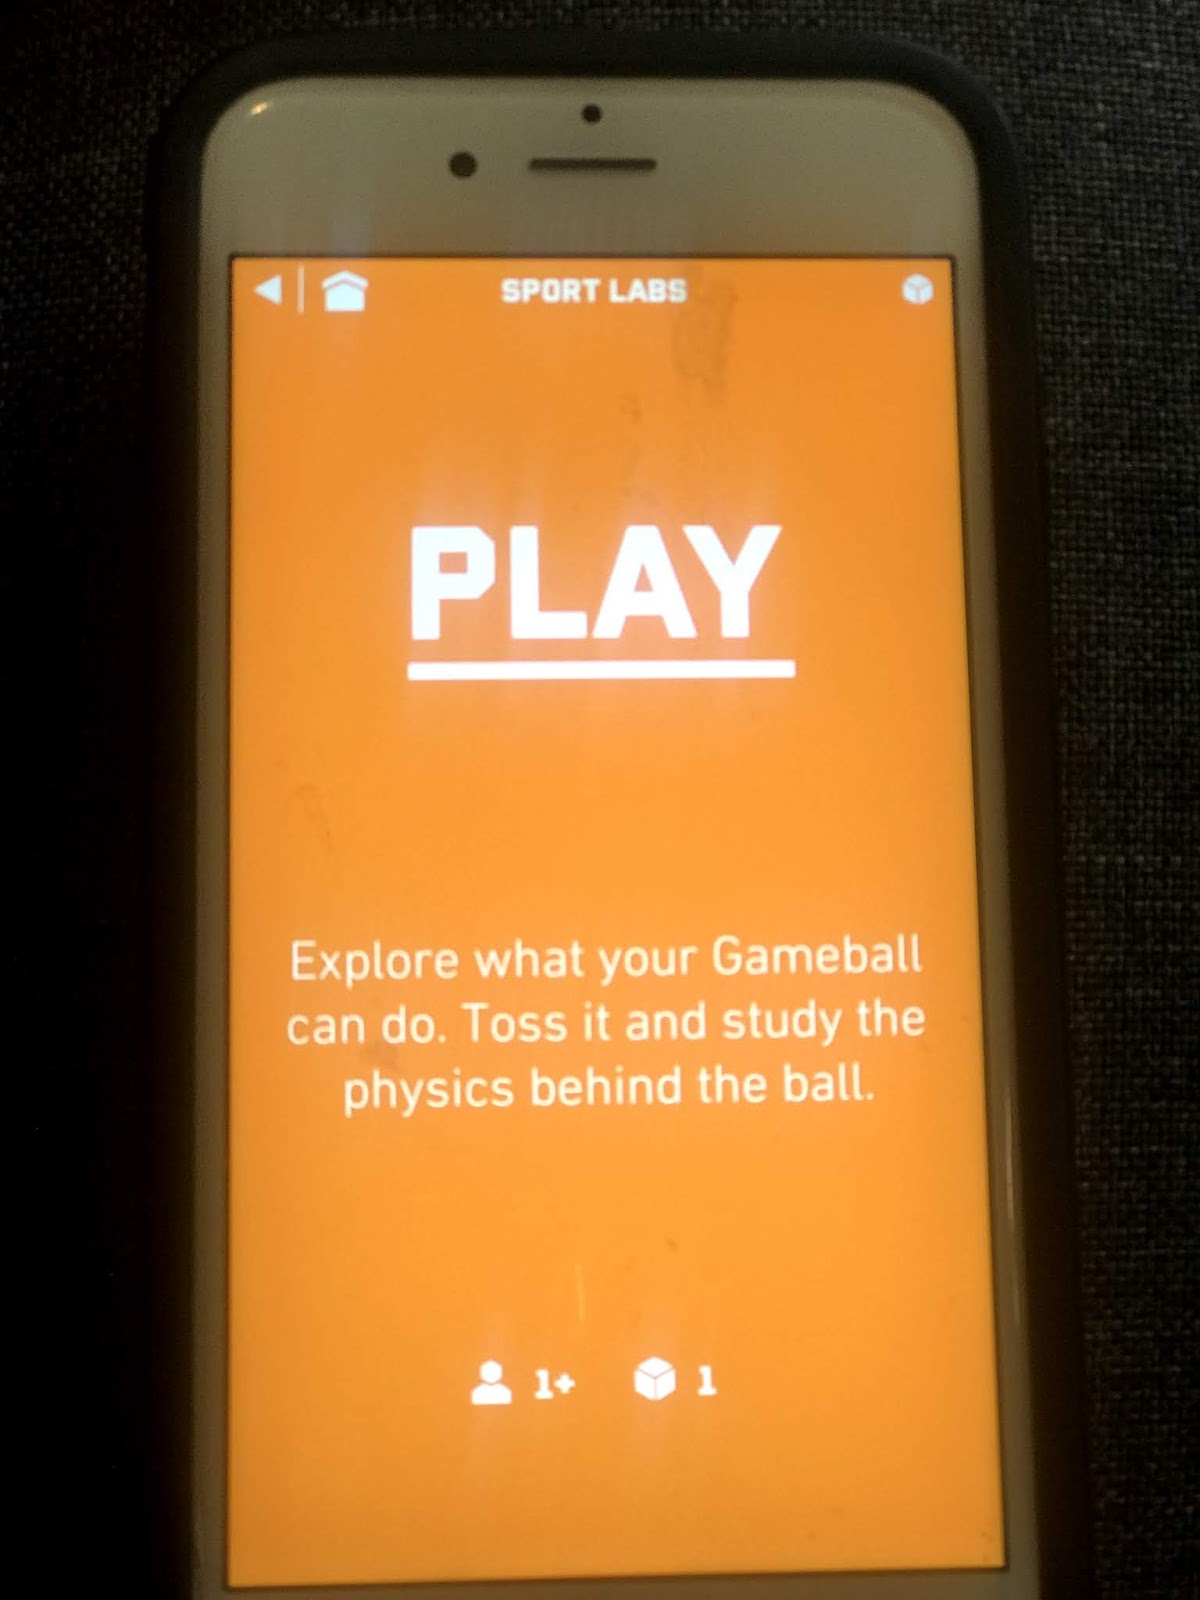
Screen of the app that says "play" with the directions for a game.
The app speaks about 80% of the information. It does not work with VoiceOver. Our AT guy, Quintin, who tested it with me was able to play almost completely independently. This is where you as the teacher or parent needs to play with the app first. You may need to teach or strengthen skills such as toss a ball in the air and catch the ball. 

screen of the app with the directions to select the metric unit you want to hear
I really like that students can play this with their friends and family without much effort. It allows our students to participate along side peers and have a lot of fun! There are some skills that I really recommend you preteach with students such as the tossing ones (if your student has no vision).  This is important because tossing ball is easy for sighted people but can be a real hiccup for our students.  Think about the social implications and needs for our students. 

screen of the app  from the sports labs activity with the stats of throwing, speed

Can you see all the areas and skills of the Expanded Core you can teach using the gameball? Recreation and leisure is definitely a win! I've even explored games that my students with multiple impairments can play with peers. Social skills is another main area. You can also infuse skills from self-determination, use of assistive technology and compensatory access skills. 

Monday, April 1, 2019

Teach Coding with the Expanded Core!

Teach Coding Using the Expanded Core Curriculum graphic
I have been loving teaching STEM as part of my Expanded Core instruction. There are so many areas where you can overlap both and have meaningful instruction. Coding can be difficult for students with vision impairments. There are some new things coming out to help with this but in the meantime, what do we do? Coding is often not accessible because most assistive technology readers are for text recognition. Coding programs are often object recognition and not accessible with screen readers. I did a lot of research about how we can still teach the foundations of coding. There are a ton of good ideas with teaching offline coding. Offline coding teaches the principles of coding without using a computer. It's not completely ideal (since we do want to teach all of coding for our students) but it does have a lot of ECC benefits. 

The offline coding cards are scattered on a table.
You can buy a variety of different offline coding activities from sites like Teachers Pay Teachers (I love that site!!). I have a new robotics unit that I developed and coding or programming is the foundation skillset. I needed to make sure that these skills were solid before applying them to the actual robots. Many of the lesson plans that I could purchase weren't super accessible. The main problems were too cutsy fonts that weren't easily read by students. I decided to research and learn about making my own coding cards. See the pictures above and below for what I made. I used a nice clear font with contrast in specific places. I also organized them with the same layout--meaning that there is an object or logo on top (so that students can learn to read or code by object), the directions (turn left/right, go straight, etc.). Last, there is a square box and that is where we use mini post it notes to indicate the number (i.e. spin around 4 times, repeat 2 times, etc.). We laminated them. I'll admit that I was nervous about using traditional laminate. I almost used the non-glare laminate. My students ended up being good with traditional laminate but always consider that when laminating. Then my best para in the world made all the Braille labels for me. 

Offline coding cards are scattered on a table

The first half of my lesson is all about teaching what writing a good program means. I include how specific their line of code has to be. Then we discuss each card so that everyone is on the same page with instruction. I have the students stand up and do this. Everyone turns right, left, goes straight, etc. so that they can perform the task exactly. You will get great ideas from STEM teacher blogs about their ideas with teaching this. I put my ECC hat on because I knew that I was working some good OM skills with this. I made sure the students could execute a 90 degree turn or 180 degree turn with good foot placement. You can do this for typically developing students and for students that have additional disabilities. For students who need more basic lesson plans, we stick to following the directions from the line of code. My typical students continue to more complex coding and I include if/then situations for them. 

An image of a students hands reading the Braille labels on the coding cards
This is a great team building project too. Now I can incorporate other ECC areas in this as the students work to program lines of code for each other to follow. They have to work together to make sure that the student does exactly what the line says. They problem solve and inspect their own work. Once they get a good feel for it, they program  for me. They have the challenge to get me from a designated point one to a point two with an obstacle. I do exactly what they say. They have to get me from a chair on one side of the room to the door. We use tactile maps and other supports as we put together a line of code to make this happen. Are you getting ideas on how you can infuse ECC skills?? I have students write me a line of code to get a backpack from a locker, go into the kitchen and get a snack, etc. You can do so much more than orientation & mobility with this AND you are teaching STEM! Want a set of my offline coding cards? Send me an email and I'm happy to share (FREEBIE!!). You just have to do your own Braille ;)

A female student arranges the cards into a line of code
STEM & the Expanded Core are a great mashup of learning. So many opportunities for our students!

Monday, August 20, 2018

Teach STEM & The ECC Using Kibo Robots


Blog graphic that says "Teach STEM & The Expanded Core Curriculum Using Kibo Robots with a pciture of a Kibo robot.
 Happy back to school everyone! I apologize for the big delay but I have been a very busy bee these past few months. I am just settling back in for regular blog posts. I have so much to share! I am always on the lookout for opportunities for our students and I stumbled upon the Kibo robots at STEM Fest last year. I immediately jumped at it because the accessibility would be so easy. Kibo robots are originally designed for early childhood but I find that I can use them for older students, too. I like how I can create simple concept development to pave a good foundation for robotics, engineering and programming. Plus, you can add the A and make it STEAM! They have lots of fun addition parts to be creative. I have used them several times with students and most recently at our Survivor on STEM Camp Island residential camp.
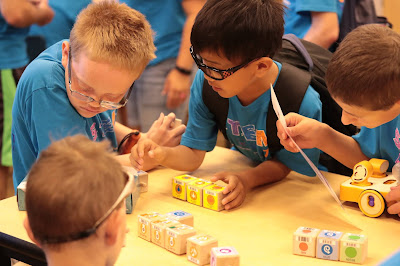
  Elementary age male students writing a program using the Kibo program blocks.
Elementary age male students writing a program using the Kibo program blocks. 
It's not just STEM that we can teach with the Kibo robots. It's about connecting it to the real world and that's where the ECC comes in. I infuse a lot of ECC concepts as I do my pre-teach with the robots such as asking the students how robots work in the real world or creating concept development about what robotics really is. Check out a video about the Kibo robots:
 
A Kibo robot with all four sensors: light, eye, telescope and listening
I have taught with the Kibo robots for students of all ages and visual abilities. My students who are totally blind can use them as can my low vision students. It didn't take much for accessibility either. We did make Braille labels for the programming blocks. The classroom kit comes with a game called Kibo Says. The game has "large print" cards which is what I use with the students who cannot easily see the blocks. You can still scan on them and they totally work. Plus they come with the kit--no enlargement necessary. I also pull out our handy Visolux (see picture below) just for quick magnification and to incorporate use of assistive technology (an ECC area!).
  A Visolux magnifier magnifies the program blocks on the screen.
A Visolux magnifier magnifies the program blocks on the screen. 
The Kibo robots lend themselves well to building concept development--meaning that there isn't a lot of abstract to make tangible. I start my lessons with new students by going piece by piece of the robot and they will build it together so they know each piece. We discuss the wheels and how to lock them in and discuss the function of each sensor. I also specifically discuss how the scanner works (and then discuss where else these scanners exist---a grocery store is a great example as well as a connection to the real world ECC).
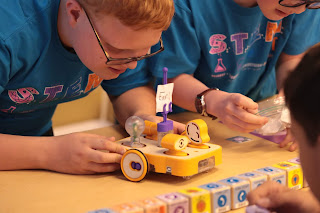
A student hand is reaching to work on a Kibo robot.
A student hand is reaching to work on a Kibo robot. 
There are lots of games such as bowling. My students have loved just creating with it. Here is a list of examples of activities: http://resources.kinderlabrobotics.com/activities/. You have to begin each program with a start and an end which is really nice. It is easy to have defined and tangible concepts for students that have no vision. All of the students that I have introduced them to (from grades 3-12) have really liked them.

                                         Kibo Says cards in full size (8.5x11)
                                   Kibo Says cards in full size (8.5x11)


Male middle school student works on a Kibo robot. He is scanning the program blocks to the robot.
Male middle school student works on a Kibo robot. He is scanning the program blocks to the robot. 
You can infuse so much Expanded Core into your Kibo lesson! Think about spatial awareness and directionality (orientation and mobility skills), working with a team (social interaction skills), problem solving, self awareness and making choices (self-determination), all the jobs in the STEM field, following simple and complex directions, cleaning up the Kibo, etc (career education). Those are just a few examples of skills and concepts you can specifically target in your Kibo session. The only accessible thing we did was add Braille labels to the program blocks. Everything else was pretty much accessible. The direction cards did need Braille and LP copies but that wasn't hard at all to do! I've had a great experience working with the company since I purchased these for our school. Give them a call and tell them you heard about it from me!

Wednesday, January 3, 2018

Teach STEM & The Expanded Core: Winter Lesson

Teach STEM for children with vision impairments

Hi friends! This is the first of many new posts about teaching STEM and the Expanded Core Curriculum together. I started running a STEM camp two years ago and have immersed myself in learning about the relationship between STEM & ECC. Good news--there are ton of ways you can teach the Expanded Core and STEM. I'll keep sharing tips, lessons and ideas. 
I use STEM lesson plans for my STEM side of things. My favorite place to hit up is Teachers Pay Teachers. 
I used this lesson plan from TPT:
 https://www.teacherspayteachers.com/Product/Winter-STEM-Challenges-January-2231074. Pay attention to the terms of use when making copies or sharing. The lesson plans for this lesson are only $4 and you can buy digital extras for a good price. There are 3 different STEM lessons in this bundle. Below is a picture of my STEM lesson plan and my ECC plan (we added Braille labels using Braillables when we did the lesson).
The first part of my lesson focused on the Expanded Core areas. We spent some time digging in to learning about winter and sledding. We brought in several different types of sleds/tubes and had students check them out. Students climbed on the sleds, checked out their details and learned how they worked. Then we discussed the special clothing needed for winter (independent living skills), how to access weather conditions (use of AT) and how to get on the sled (orientation & mobility). Social interaction skills are always an important piece of community instruction. We had single person and two person sleds to discuss social pieces. We also addressed social communication (the type of language/words they may hear to need to know) and nonverbal body language. 
Below are pictures of the students checking out different types of sleds/tubes.


Discussion & hands on learning:
·      What is a sled?
·      What is a sled ramp?
·      Tubing vs. sledding

·      Where can you go sledding?

The STEM activities were pretty fun. The sledding lesson went well with the ECC part. The lesson asked for card stock paper to make the sled but we had plenty of Braille paper hanging around so we used that. We swapped standard font sized rulers for our LP/Braille ones. We did a few practice rounds so that our students who had no vision could get the hang of sending their sled (bottle cap) down the sledding ramp. We used tape to mark the sled distance. This makes it possible for our students to measure with their ruler. 

Note: we followed all of the lesson plans for learning the concepts covered in the STEM lesson. I like to use meaningful terms for our students so we are hands on as much as possible. For example, we rubbed our hands together and then palms on the table to learn about friction and we discussed units of measurement that students know for distance.
Here's how I incorporated ECC areas in this lesson:
Expanded Core instruction: Students will strengthen their understanding of sledding.
·      Compensatory skills: concept development of sledding
·      Social interaction skills: people go sledding together; social vocabulary, social etiquette
·      Independent Living Skills: what type of special clothes do you wear for sledding?
·      Orientation & Mobility: body & spatial awareness; directionality, mobility in the snow
·      Sensory efficiency: how does being outside in winter affect your senses?
·      Recreation & Leisure: exploration of sledding as a recreation activity
·      Career Education: understanding the rules or etiquette of the hill; who works at resorts?
·      Use of AT: how can you access weather reports and other information to find out more information about sledding?
·      Self-Determination: developing new skills; making preferences for different types of sledding (tubes vs. sleds/going solo or with friends)

SSTEM is a growing area for all students. Students with vision impairments do not need to be left behind! There are so many ways our students can have meaningful STEM experiences. I love that it also a great opportunity to extend learning by incorporating the Expanded Core.