Showing posts with label For students of all abilities. Show all posts

Thursday, January 7, 2021

ECC Family Project: Grocery Shopping at a Food Bank


a graphic that says Expanded Core family project: grocery shopping for a food bank. Develop your child's Expanded Core skills and help the community together as a family.   For children of all abilities & for families of all types.

Then my teacher lightbulb switched on. I quickly saw all the ECC skills that could easily be infused into this idea and I knew that I had another family project for you. I have designed this idea for children of all abilities and families of all types. 
Here's another great Expanded Core family project: grocery shopping for a food bank. I'll be honest, this is another idea that comes straight from my own life. I read an article about our local food banks and there was a profile about the families who are receiving their support. I was quite struck by this as it reminded me that for most of my childhood I was a recipient of support. I decided to look up their needed items. I made a commitment that every time I go grocery shopping this year, I will pick items to support the local food bank. 

Part one--food bank research 
 As a family, look up your local food bank and learn about it. You can be as detailed as you need to meet your child where they are. Learn about what food banks are and what needs they have. I also encourage you to have your child call the food bank and conduct an interview. You will find out what specific needs your local bank has and it works conversation skills. 
  •  For moderate to typically developing students, have them use their tech skills and go online. Have them do the search on a device. I suggest a laptop so that everyone can read along with them (but you do what works for you!). 
  • For symbolic level students, use real life simple pictures of a building. Use simplified language ("This is a food bank."). You can go to the site https://www.remove.bg/ and it will remove the background of a visually chaotic picture for free!
Gather your information from your research. You can have your child be the speaker (they call the food bank),  the researcher (they go online) or the secretary (they write the details and the shopping list). You can assign these responsibilities out to members of your family (this teaches career education). 
Find the food bank address in your community. Have a quick discussion about the location of the food bank (after you researched the address). Consider these questions: is the food bank in a residential place? Is it in a strip mall? Go on a map and look at the street. Is it located on a busy street or main road or a side street? Does it have a stoplight controlled intersection. This quick discussion infuses orientation and mobility skills. 
A clipart of a woman in the grocery store holding a basket full of food

Part two-grocery shopping skills 
You have two options for this part. You can go to the grocery store or you can order groceries online. 
For both options, start with a grocery list. You can have this in Braille, large print or pictures. 
  • Option A:You can have a bit of fun with this part if you have the time. Start with your grocery list and play a type of the price is right with it. I do this a lot with students and it is super fun. Ask everyone to make a guess of how much items cost. This lets you know how much knowledge your child has about money skills. Then move onto grocery shopping. 
  • Option B: get right to grocery shopping. For in person grocery shopping, infuse AT skills by using an app such as Seeing AI or Be My Eyes. Divide your family into teams and work on the list together. Do not just put your child at the back of the cart and drag them around the store. Keep your child actively participating by giving them a specific task. For symbolic level students, give them pictures of what they are looking for. Let them put the item in the cart. 
For online shopping, turn JAWS on so everyone knows what's going on. Your child may be inexperienced with online shopping so be partners in this effort. **If you feel overwhelmed, do this: think of one thing your child CAN do for this and one thing you STOP doing for this. It will give you some direction.

For both in person or online shopping, the payment section is a good place for your child to be actively engaged. You can use paper bills--more ideal for students who have multiple impairments or teach about using a card. I try to make sure that my students have both the card reader experience at a self- checkout and with a cashier. Go at a dead time so you don't feel rushed. 

Last but never least, do the best you can! I've had so many grand ideas fail miserably when executed in real time. The focus is a family activity that helps the community. Pay attention to how your child does--are they way off with prices? Do they seem to not have strong internet skills? Do they not know much about grocery stores? Make some notes. Then call your teacher of students with vision impairments or OM instructor to work a plan to develop these skills. Pay attention to yourself--how much did you really help your child during these activities? Did you overpower during the lesson? All children can do something. Step back and let them do things before you jump in to help (easier said than done!). 
Can you imagine if just twenty families did this activity? We would help our local communities so much! 


Saturday, December 19, 2020

Teach the Expanded Core Curriculum by Writing Letters to North Pole Friends

a graphic that has a big envelope that says Teach the ECC by writing to North Pole friends
Writing letters to Santa Claus is a very popular activity for this time of year. However, you can include a lot more kids and A LOT more Expanded Core skills if you put a twist on this popular activity and write letters to North Pole friends. 
This twist give you a handful more opportunities for skills. Here are some ideas:
Learn about the post office and writing letters free matter for the blind
Addressing envelopes (almost a lost art at this time)
Learn how to write a letter with a greeting and a closing. 
Developing and practicing a signature. 
Make choices about the friend you want to write to (I gave my students Santa, Rudolf or Frosty) and what you want to say or write to that person
Teach about weather (what type of weather do you think the North Pole has?)
Writing to North Pole friends as opposed to just Santa means you can do letter correspondence into January (feel free to pick other North Pole friends).
Give different writing prompts (It doesn't just have to be about what you want for a holiday present--you can write about different things).
Literacy, literacy, literacy! Lots of of opportunities for literacy in a project like this.

an image of a big red mailbox that says letters to the North Pole
I found these super cute mailboxes at Target (there's even a light in the outside). We set up the North Pole mailbox in the office with our secretary because that's where the mail is delivered at our school. However, if you are doing this virtual or just at home as a parent you can use your own mailbox. 
I provided students with three choices for their letters. Santa, Rudolf or Frosty. I whipped up these images on Canva. Notice that I used strong contrast for the pictures to make them friendly for low vision and CVI students. My amazing para took the next leg and put the tactile items on it. We LOVE the APH Carousel of Textures kit but you can also hit up a Joanns or Michaels for some tactile paper. She didn't do the whole picture tactile rather just the critical features of each to highlight them. 

a green background with a simple Santa graphic where his beard is made from cotton balls

an image of a black background with a reindeer cartoon smiling with antlers and nose made tactile

A green background with a while snowman wearing a hat and scarf with tactile on those parts
Our students could write in any writing mode that worked for them (and then received a letter in return in that mode). We received letters in Braille, large print and pictures. Now this is the cool part, we had our high school students write the Braille replies. So if you are a teacher with older students, this could be a fun project that your high school students do for younger students on your caseload! 

4 pages spread on a table each with a simple sentence and a picture from a student to Santa
I wanted to include pictures of how we did the picture letters because sometimes that is tricky for folks to know how to do. The above picture is the letter from a student that uses pictures. There are Braille labels over the large print with large clear pictures. We returned his letter in the same format and signed it from Santa with the same Santa picture (plus tactile beard) as the signature. 

4 pages spread on a table each with a simple sentence and a picture as a reply from Santa. the santa picture has cotton balls on the beard.
Now we started this by writing letters to North Pole friends (again, I meant for this to be inclusive for students who do not celebrate Christmas) but can you see where you can keep this going in the new year? You can continue to use actual letters or you can keep practicing and learn how to transfer this to digital communication such as an email or have a lot of fun and move to Twitter!
Teachers, you can make this as a kit and send it to families and then work together virtually. Parents, you can do this in your home. It's an accessible activity that practically every child can participate in. Happy holidays! 


Tuesday, December 1, 2020

The Power of Theater and the Expanded Core Curriculum

A graphic that reads The Power of Theater and the Expanded Core Curriculum for students with vision impairments. A new blog series for youth with vision impairments with Blind Ambition's Frankie Ann Marcille. 

As a visually impaired adult now working towards developing a career in teaching the Expanded Core Curriculum, I have thought a lot about what the most meaningful experiences were throughout my teenage years. I’ve thought about experiences that gave me real time, true to life opportunities to learn valuable lessons in the ECC. One such experience was my time participating in theatre.


I first started participating in theatre when I was just two years old. My parents signed me up for dance classes and let’s just say-that was it! I fell in love. I have never stopped dancing. From there my passion only continued to grow when I performed in my first musical at age six. I continued performing, participating in at least two shows per year with my various schools, dance studios, etc. from elementary school through high school. I even went on to major in Theatre for my undergraduate degree.


Looking back, I realize how much the arts did for me as a child/teenager with a vision impairment. Participating in theatre/dance programs taught me discipline and advocacy. Because I was the only person in all of my programs with a vision impairment, it was up to me to let my instructors know what I needed and work with them to find a solution as to how I could best participate. They taught me confidence and self determination. Theatre showed me how I could be confident in myself and my abilities as a woman with a vision impairment. I felt like if I could get on stage and perform for crowds of people, I could stand up and tell people about my vision/ I could engage with others in meaningful discussions about my future and my dreams. 


Most practically though- theatre helped me to understand basic social interaction skills. There was so much that I realized I didn’t understand as a person with a vision impairment. I didn’t realize I didn’t make eye contact. I didn’t realize sometimes that my facial expressions said more to others and I often missed seeing other’s facial expressions and picking up on subtle cues. However, theatre helped me to work on these skills. Because of this, I have come up with a new way to teach social interaction as a part of the ECC.


I have put together a curriculum of social interaction based theatre games to help other blind and visually impaired students to learn these same skills in a way that is more than just educational. This curriculum is emotional, engaging, true to life, and did I mention...FUN!! I am so excited to share some of them with you here on “The Independent LIttle Bee”! Keep an eye out and until then…


Stay Ambitious!

Frankie Ann


Wednesday, August 26, 2020

ECC Chill Pill Lesson

A graphic that says ECC Chill Pill Lesson: Put a ECC twist on a popular activity
Happy back to school friends! I know it is crazy right now but we can still provide meaningful Expanded Core instruction for our students. Check out this fun idea: make chill pills with students. Huh? I'm sure you have seen this fun idea floating around on Pinterest or other craft places. You can take this fun idea and infuse a TON of ECC learning and skills practice for students of various abilities. 

A close up of the ECC chill pill bottle with the label that explains how you will become happy when taking the pills
 I referenced our ECC assessments (you should do this, too!)
Here's a few of my ideas of how you can infuse ECC learning:
Community learning: what is a pharmacy? learn about employees that work there--what are their titles? Research different types of pharmacies and locations. Plot a bus/walking route. What are items you can get a pharmacy? Over the counter vs prescription? Safety measures with medication
Social/emotional: review why someone would need to take a "chill pill", what does it mean to "chill out". You can review emotions and healthy ways to manage them and express them. I also like to do a mental health toolbox where students learn different ways to manage mental health and then select ideas to build their own coping skills. 
Independent living skills: how do you manage your personal medication? Hygiene is another great topic at this time. How do you open and store medication safely? Use technology to read medication labels. 

A pic of the ECC Chill Pill bottle and a small bottle of hand sanitizer
Now it's important to remind you that you want to have intentional, meaningful instruction so ponder how you will present this and work through material with students. Don't shove all this information into one lesson! The bonus part is the actual chill pills. We used a mix of Skittles and M&Ms. Another bonus ILS is to review favorite snacks, prices, location of these items, etc. Allow students to mix it up and select their own "pill combinations". 

A top view of the bottle with the lid off so you can see the candy inside.
These make great gifts for others. You may have to stuff them with pre-packaged candies for Covid safety but all in all, it will still work. Last but not least, the label lesson! Teach students what is on a prescription label. We had print and then Braille labels for students. Big shout out to my secretary who assembled these ones! She did a great job. Our students loved them. They were part of our back to school for our residential students. 
Would you like the label to make your own? I'm happy to share! Email me at robbin.keating@gmail.com and I'll get you the template. 


Sunday, May 3, 2020

ECC Family Project 2

Image that says ECC Family Project: Make 3 ingredient popsicles
I quite possibly think that this new series is becoming my favorite during this quarantine time. Why? Because I am a mom and I know first-hand how hard it is to manage life! This is a project that kiddos with multiple impairments or typically developing can do with their siblings. 
You only need THREE ingredients and a popsicle mold--easy peasy! I bought these molds in the Dollar Spot at Target awhile back. You can also probably find them at Dollar Tree or order them for a minimal cost. My youngest (she's 6 years old) did the project with minimal support from me. 

a girl smiles and holds a Jell-o box as she mixes ingredients
The other bonus? It wasn't a marathon long project. We were done (including set up, preparation and clean up) in 15 minutes. Boom! The recipe was a find from Pinterest. Here it is: http://poofycheeks.com/2014/06/jell-o-popsicle-recipe/. Now that we have discovered this one, Pinterest has been awesome to find me a dozen more variations. 

a side view of a girl pouring liquid mix into molds
A couple of important notes for maximizing your total Expanded Core learning: 
1. Your child is the one who should be in charge of the set up & clean up (not just the actual cooking). They should pull out the pot for the water, measuring cup, bowl and spoon. This is the part that may take a few extra minutes if they are new to the kitchen scene. Don't do this part with siblings as they tend to be well meaning but give away the answers. Normally I would suggest that your child also buy the Jell-O but we are in a new normal here. Have a quick (seriously--QUICK) discussion on the different flavors of Jell-O if they are new to Jell-O. Talk about the cost (Jell-O and store brand is cheap!).
2. Consider contrast. Notice that I selected dark blue. It is easy to see. If your child has no vision, consider using a tray with all of the ingredients to keep things organized. 
3. If your child has limitations such as multiple impairments, think about how they can actively participate. That's different than being totally independent. Can they hold the box? Open it? Can they stir? You can discuss hot and cold, empty and full concepts easily. Are they very limited with their hands? No worries--go hand-under-hand with them. Not sure how? Watch this super quick and awesome video: https://www.wsdsonline.org/hand-under-hand/ (watch Daniel Makes A Smoothie). 
4. Let them use the stove! The easiest thing you can do on a stove is boil water. Highlight how you know water is boiling without seeing it. You can hear it! 
5. Put your child in charge of cleaning up! That includes wiping down the counter. 

a close up of a girl's hand as she uses a small measuring cup to pour liquid into mold
I have to admit that I was a little nervous about how my little one was going to pour the mix into the containers. I have a small one cup measuring cup. We simply dunked the cup in the mix and then poured it. She did it all by herself. ECC bonus skills: pouring! No vision? No worries! Don't let your child put their finger in (we do discourage it but sometimes you gotta do what you gotta do). Try having them feel the outside of the container while they pour. The water is hot and you can feel it fill up the container. BEFORE they pour have them indicate with their finger where the top of the mold is. This way you know that they know where the top is. 
Freeze for a few hours and enjoy! I didn't add as much sugar as the recipe called for but you can do whatever works for your family. NOTE: for kids with multiple impairments, really play up the temperature aspects of this. There are repeated opportunities to talk about hot and cold. You could easily make a new recipe with a new flavor each week. Once you master these, you can rank up and try the fruit ones with fresh fruit and coconut milk. Go for it! 

Wednesday, December 11, 2019

Your New Favorite Read: Blind Ambitition

A turquoise and purple logo that says Blind Ambition with Braille and Large Print font

Hi everyone! My name is Frankie Ann and I am a legally blind, twenty-something who is just trying to live her best blind life! And this is Blind Ambition- a weekly blog column where I will be sharing Accessibility Tips, Expanded Core Curriculum Hacks, Skills for Advocacy, Personal successes, struggles, and so much more!

Here’s a little bit about me! I was born with septo-optic dysplasia which is a really fancy way to say that my optic nerves are underdeveloped. I have poor distance vision (20/400 in my left eye and 20/800 in my right) no peripheral vision (tunnel vision), no depth perception, severe light sensitivity, degrees of night blindness, slight nystagmus, and a partial astigmatism. Mix that all together and you get me: a large print reader (24 print Arial bold font for the win) and partial cane user (at night and in excessively crowded or unfamiliar environments) who has spent her life trying her best to adapt to every situation that comes her way and never back down from a challenge!

I met Robbin back in 2010. At the time, i was going through a serious hard time coping with my vision impairment. I was just about to turn sixteen and while all of my other friends were getting hyped up to get their driver’s licenses, I got my very first white cane and was taking street crossing classes with my Orientation and Mobility instructor.  I felt totally lost, insecure, and frankly embarrassed by my vision impairment. But Robbin helped me to see past all that- both literally and figuratively! She taught me that it’s not about what I could see, but about what I could do. Once that seed was planted, everything changed!

Frankie Ann skydiving with a guide on her back in the air.


an image of Frankie Ann using a rope to pull herself up on a mountain

Though my final high school and college years had their fair share of challenges and hard times, i was equipped with a new found confidence and pride in my self that helped me to rise above and keep pushing through. That confidence helped me to make the decision to leave my home in Connecticut and move to the biggest, busiest, and most visually overstimulating city in the country- New York City! My hope is that by sharing my experiences here, I may be able to help other blind/visually impaired individuals work through their own struggles, find solutions to their challenges, learn that they are DEFINITELY not alone, and chase their dreams!

I am so excited to be launching Blind Ambition! Each week will cover an aspect of living life with a vision impairment. Stay tuned next week for our first topic: “Vision Statements: How Do You Explain Your Vision Impairment to Someone who is Sighted or Just Doesn’t Get It?” In the meantime, follow my Instagram @blindambitionblog for daily posts about Accessibility, Advocacy, and more!

Thanks for reading! I can’t wait to keep sharing with you!

Stay Ambitious,
Frankie Ann

Friday, December 6, 2019

Teach the Expanded Core Using Nutcracker Dolls

 I'm baaaaaaccckkk!! I technically never left. I've just been more on 9MoreThanCore on Instagram. But I've missed my regular blog posts because I have so much to share and talk about. Back to regular posts so keep checking back. I've got a lot of fun stuff to share over the next few months.

A group of a variety different types of Nutcracker dolls sit on a table.
Now onto our topic: Nutcracker dolls. Every year I see Nutcracker dolls and I admire them. This year I was admiring and thinking. How fun would it be to use them for an Expanded Core lesson!? I realized that I could have a fun activity that infuses Expanded Core skills and specifically focuses on career education. Yes!

 As many of you know, these dolls aren't always cheap. They are about $20 each and I had a lot to buy so yikes! No fear here. I bought these at Michael's while they were half off. Then I used my 25% off coupon. Winner, winner chicken dinner! 

There's many different options for teaching.
Here's some ideas:
You can simplify it for younger students and just focus on the key characteristics.
Match the Nutrcracker dolls to pictures of real people.
Give characteristics of a career and allow students to choose the right answer by selecting the correct doll. 
Find real life objects that coordinate with the Nutcracker. 

Remember, use your tools (EVALS and ILSA) to help with identifying skills to infuse that are appropriate for your students. 
A teacher Nutcracker doll with the game sign "What is a school teacher?"
My Nutcracker activity is fun for campus students or around the house at home. I made a game of it. I start the first week of December. Each week I "hide" (in plain sight!) the dolls around my campus with Braille/large print labels so students can learn about a new career. There's a main Nutcracker with a basket. Students find them and write the name & career in whatever mode (Braille, LP or audio) and sign their name. Students put their answers in a basket and I pick winners each week. 

a large traditional Nutcracker doll with a basket and a game sign on how to play the game behind it.
Check out my first four that I "hid" on campus. Note: by hid, I mean they are totally available to be found pretty easy. The objective isn't to have my students randomly feeling everywhere hoping to find one. Each doll has a large print and Braille version (I used my embosser). 


A police officer Nutcracker doll with a Braille and print sign.

A chef  Nutcracker with a game sign in Braille and print.

A doctor Nutcracker doll  with a game sign in Braille and print.

Here is a close up of some of the dolls that I bought. I also bought dolls to teach about recreation & leisure activities.
An army and firefighter Nutcracker dolls

A professor and pizza chef Nutrcracker dolls
 This part is important: pre-teaching is a must! Below is a picture of my high school students exploring the Nutcrackers. Students are invited to check out the features as well as read the information cards. The objective of this game is to explore careers and recreation opportunities.
A female teen and male teens tactually explore two Nutcracker dolls.

Below is a close up of some of the game cards (they are full size 8.5 x 11). 

The game card for Chef Bakewell, the chef Nutcracker doll.

The game card for Doctor Gurnee, the doctor Nutcracker doll.
Okay, I have an idea if you don't have 10-15 Nutcracker dolls. Plan a community based instruction trip to a place like Michaels and have fun there! 
There's so much that you can do. Use your imagination!
Want a copy of my game cards? Send me an email: robbin.keating@gmail.com

Monday, July 1, 2019

Teach the ECC at a Home Improvement Store

Text with three pictures of students touching appliances at The Home Depot

Hello friends! I am finally getting around to blogging about one of my favorite places in the community for Expanded Core instruction: a home improvement store! Yep, like Lowe's or The Home Depot. These stores a treasure box of skills, experiences and learning opportunities. There are many options for doing community based instruction (CBI) at a home improvement store. I recommend doing it as a series. This means you come back several times and break up the store into smaller parts. I like this option because there is more opportunity for students to have a stronger connection to the concepts. After all, there's much to learn, see, touch and do at a big home improvement store. The pictures from this post are part of a two part series I did. We did some work in the classroom and then put it together at the store. Part one was dedicated to learning about tools and basic home improvement around the house. Students learned a lot from the difference between a flathead and a Phillips screwdriver to how to plunge a toilet! Note: I always buy a new plunger and label it so students can touch it and explore it without it being gross! I feel that students should know basics of their home. These areas often get overlooked but it is a valuable skillset. Plan time for this. It's easy to just do a "show and tell" lesson. That's not effective ECC instruction. Use the "I do. We do. Y'all Do. You do." approach for this one! It's okay to break it up into a series of learning as well! 

A male young adult examines a stove dial appliance close up

A male teenager examines a refridgerator at the home depot.

A home improvement store is also great for a variety of age groups. I brought younger students to high school students for this outing. My younger students had a bonus lesson: they went and explored different textures! There were so many textures for younger hands to find and discuss. We also did a scavenger hunt of shapes, textures, measurement and comparing/contrasting sizes with their group. 

A young adult male and an elementary age male touch a display of small rugs

A group of young students tactually explore a wall of carpet samples.
 Plan a few hours for an ECC CBI--even if you are breaking it up in a series. There are many departments that have lots of hands on exploration even for older students. Check out the picture below with all the different faucets! We had lots of discussions about student's preferences, uses and locations of just faucets!
a photo of a wall display of faucets at The Home Depot.

a group of teenagers hold up flooring samples and smile for a picture
 I brought a medium sized group of students for this outing. I broke them up into small groups and gave them an "educational scavenger hunt" (aka a creative list of things I want them to learn about). Each group had time to go about the store at their own pace. They had to check out major departments and apply their new "tool knowledge" to each department. Can you see all the possibilities?? We spent almost an entire day on our home improvement unit.
a group of students listen to a male teacher as he points out items on a heating system
 There's another reason why I like doing ECC lessons at a home improvement store: the appliance section! Many students haven't had the opportunity to check out a variety of appliances. Their knowledge is usually just their own home appliances. I like to do a whole lesson about accessible appliances. I like to review what makes an appliance accessible. I give the students a checklist of accessible options to consider and tell them to find these options on appliances. I encourage them to learn about their own accessibility needs. Then look for appliances that match their needs. Note: I don't rush this lesson. We go appliance by appliance---we do laundry first, then kitchen, etc. I let students discover features of appliances.
A female student explores a washing machine

a male young adult smiles next to a washing machine.

Don't forget to talk about the money! We also discuss prices and budgets. I kind of like to play "The Price is Right" for this. I have students take a guess at how much appliances cost including their dream accessible appliances. Fortunately, many of the most accessible appliances are the most basic ones. We compare and contrast pricier models with basic. We discuss all the bells and whistles. It's such a great ECC lesson!! 

a close up of a basic dial on washing machine
 Make sure you go during off hours if possible. It makes it easier to have "department to yourself". You can do a lot more instruction without everyone staring at you. The workers are usually awesome to work with. Many employees will take extra time and really help out where possible.
a male young adult turns the knobs on a stove as he checks it out.
 I have students pack their assistive technology (that includes their phones) for this CBI. I like them to use their AT when determining what accessibility they need. Feel free to invite an orientation & mobility instructor as well for this one. There's so much to gain on this ECC adventure!
a male young adult checks out the knob on a stove.

Thursday, May 23, 2019

Teach the Expanded Core Using the Play Impossible Gameball

Graphic that says Teach the Expanded Core Curriculum using the Play Impossible Gameball
I am so excited to share my new favorite Expanded Core activity: the Play Impossible Gameball! Have you tried it yet? I learned about it while at the Apple Store with an employee. I was instantly intrigued with its potential but worried about accessibility. There are so many fun new STEM ideas coming out but their apps are not accessible. Not the case with Play Impossible Gameball! 
There is a ton of potential with the gameball. I use it for STEM but of course can teach loads of other ECC skills. NOTE: take time to go through the app before you let students play with it. Consider all of the things you need to preteach. 

A photo of the Game possible screen app that shows the list of all the games.

The app allows you to play with just one player or in teams. You can play with one ball or two balls. The balls charge super fast! You can purchase them in a few places but I bought on Amazon. They are about $80 per ball. Kinda pricey but worth it! 
Check out general information on their site: https://www.playimpossible.com

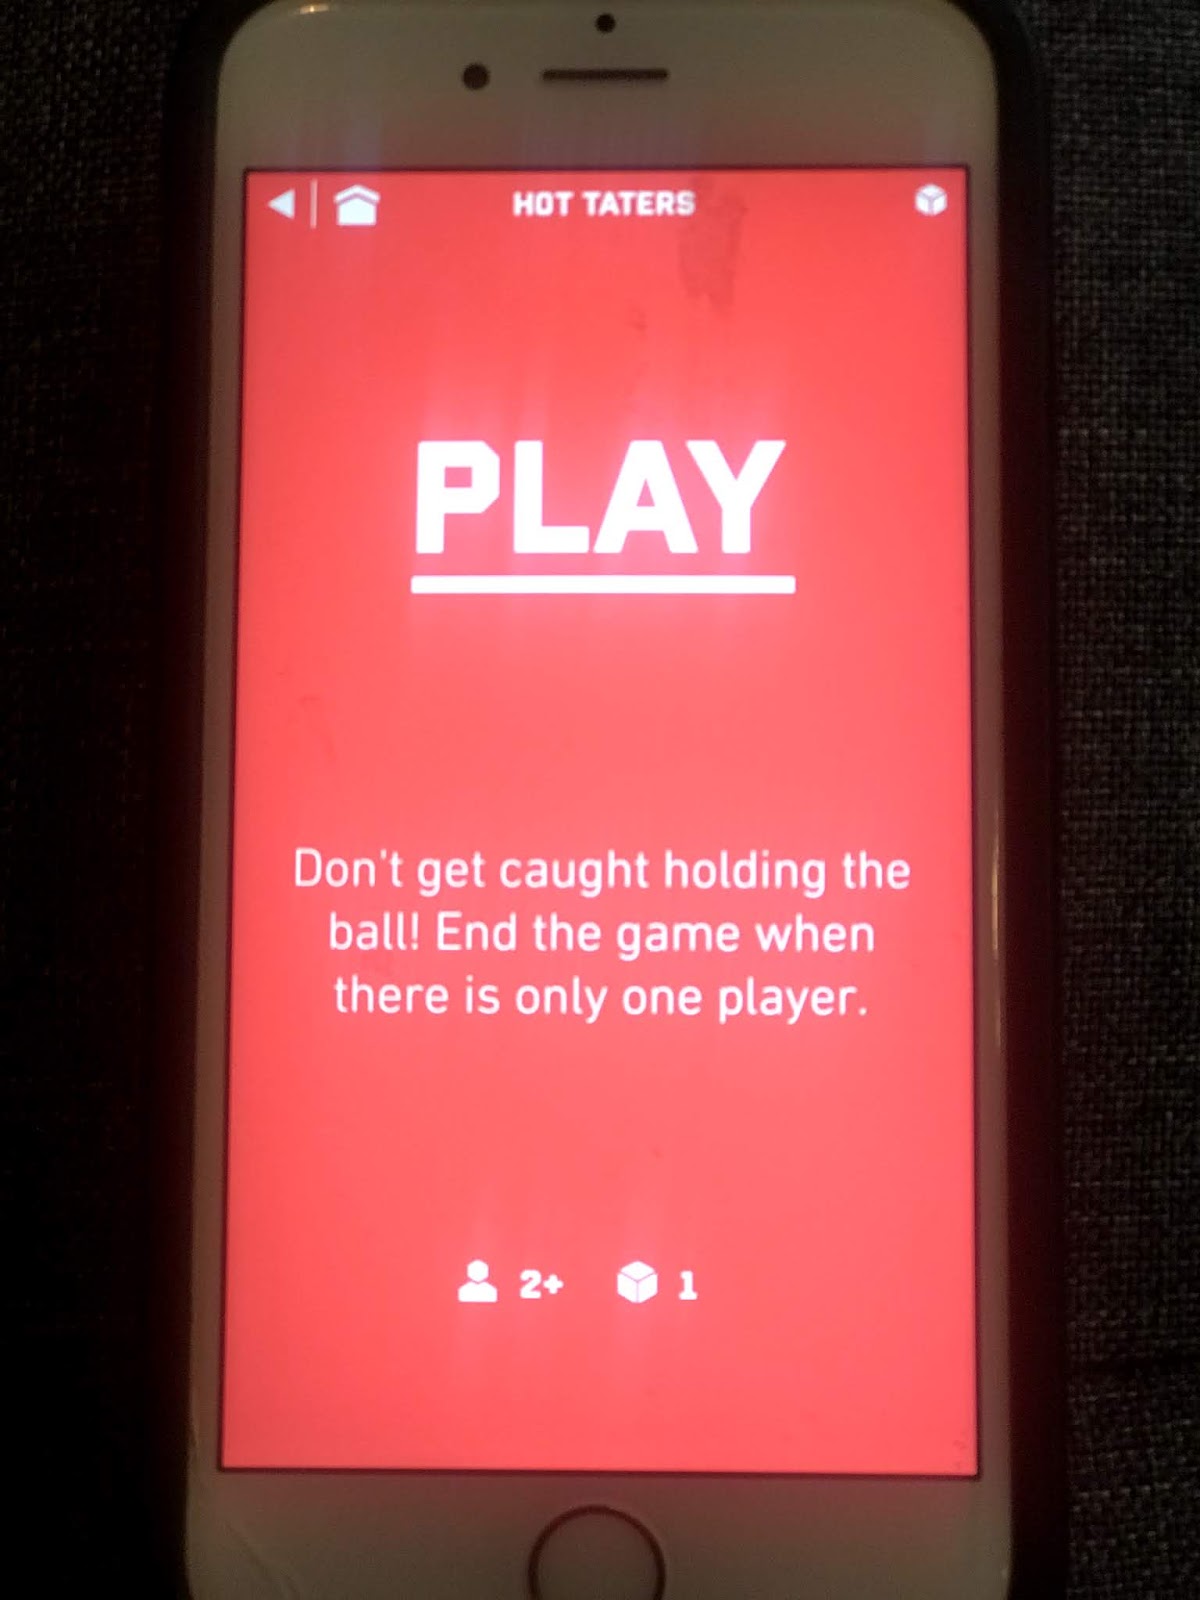
Screen of the app that says "play" with the directions for a game.
The ball is fun to play for just recreation and leisure skills. I tested out the app and its accessibility with our assistive technology teacher (who is completely blind) and our education tech guy. You can see how they did on Instagram. Follow me on 9MoreThanCore on Instagram to see the demo!

Screen of the app that says "play" with the directions for a game.
The app speaks about 80% of the information. It does not work with VoiceOver. Our AT guy, Quintin, who tested it with me was able to play almost completely independently. This is where you as the teacher or parent needs to play with the app first. You may need to teach or strengthen skills such as toss a ball in the air and catch the ball. 

screen of the app with the directions to select the metric unit you want to hear
I really like that students can play this with their friends and family without much effort. It allows our students to participate along side peers and have a lot of fun! There are some skills that I really recommend you preteach with students such as the tossing ones (if your student has no vision).  This is important because tossing ball is easy for sighted people but can be a real hiccup for our students.  Think about the social implications and needs for our students. 

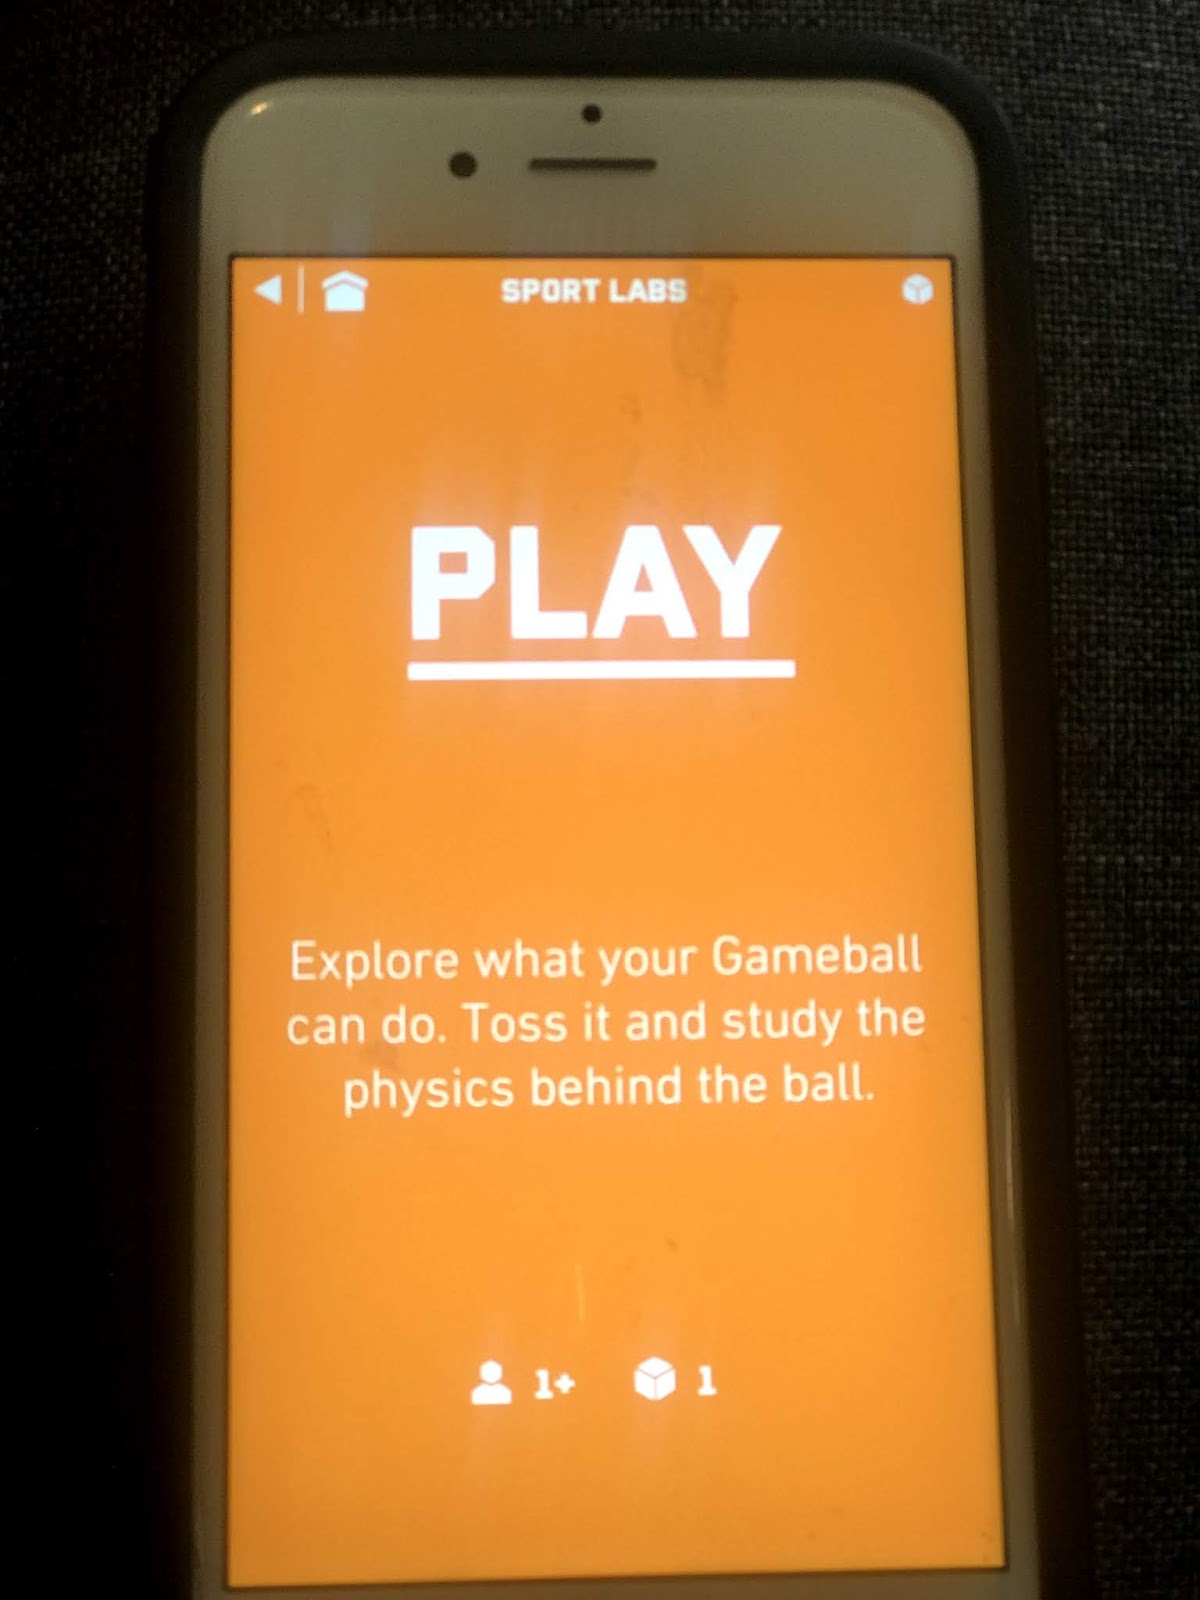
screen of the app  from the sports labs activity with the stats of throwing, speed

Can you see all the areas and skills of the Expanded Core you can teach using the gameball? Recreation and leisure is definitely a win! I've even explored games that my students with multiple impairments can play with peers. Social skills is another main area. You can also infuse skills from self-determination, use of assistive technology and compensatory access skills.