Showing posts with label I Got it From Pinterest!. Show all posts

Sunday, May 3, 2020

ECC Family Project 2

Image that says ECC Family Project: Make 3 ingredient popsicles
I quite possibly think that this new series is becoming my favorite during this quarantine time. Why? Because I am a mom and I know first-hand how hard it is to manage life! This is a project that kiddos with multiple impairments or typically developing can do with their siblings. 
You only need THREE ingredients and a popsicle mold--easy peasy! I bought these molds in the Dollar Spot at Target awhile back. You can also probably find them at Dollar Tree or order them for a minimal cost. My youngest (she's 6 years old) did the project with minimal support from me. 

a girl smiles and holds a Jell-o box as she mixes ingredients
The other bonus? It wasn't a marathon long project. We were done (including set up, preparation and clean up) in 15 minutes. Boom! The recipe was a find from Pinterest. Here it is: http://poofycheeks.com/2014/06/jell-o-popsicle-recipe/. Now that we have discovered this one, Pinterest has been awesome to find me a dozen more variations. 

a side view of a girl pouring liquid mix into molds
A couple of important notes for maximizing your total Expanded Core learning: 
1. Your child is the one who should be in charge of the set up & clean up (not just the actual cooking). They should pull out the pot for the water, measuring cup, bowl and spoon. This is the part that may take a few extra minutes if they are new to the kitchen scene. Don't do this part with siblings as they tend to be well meaning but give away the answers. Normally I would suggest that your child also buy the Jell-O but we are in a new normal here. Have a quick (seriously--QUICK) discussion on the different flavors of Jell-O if they are new to Jell-O. Talk about the cost (Jell-O and store brand is cheap!).
2. Consider contrast. Notice that I selected dark blue. It is easy to see. If your child has no vision, consider using a tray with all of the ingredients to keep things organized. 
3. If your child has limitations such as multiple impairments, think about how they can actively participate. That's different than being totally independent. Can they hold the box? Open it? Can they stir? You can discuss hot and cold, empty and full concepts easily. Are they very limited with their hands? No worries--go hand-under-hand with them. Not sure how? Watch this super quick and awesome video: https://www.wsdsonline.org/hand-under-hand/ (watch Daniel Makes A Smoothie). 
4. Let them use the stove! The easiest thing you can do on a stove is boil water. Highlight how you know water is boiling without seeing it. You can hear it! 
5. Put your child in charge of cleaning up! That includes wiping down the counter. 

a close up of a girl's hand as she uses a small measuring cup to pour liquid into mold
I have to admit that I was a little nervous about how my little one was going to pour the mix into the containers. I have a small one cup measuring cup. We simply dunked the cup in the mix and then poured it. She did it all by herself. ECC bonus skills: pouring! No vision? No worries! Don't let your child put their finger in (we do discourage it but sometimes you gotta do what you gotta do). Try having them feel the outside of the container while they pour. The water is hot and you can feel it fill up the container. BEFORE they pour have them indicate with their finger where the top of the mold is. This way you know that they know where the top is. 
Freeze for a few hours and enjoy! I didn't add as much sugar as the recipe called for but you can do whatever works for your family. NOTE: for kids with multiple impairments, really play up the temperature aspects of this. There are repeated opportunities to talk about hot and cold. You could easily make a new recipe with a new flavor each week. Once you master these, you can rank up and try the fruit ones with fresh fruit and coconut milk. Go for it! 

Wednesday, November 21, 2018

Learn About Community Partners Using the Expanded Core

a graphic that reads the title of this blogpost
I just completed my latest ECC kit, Community Partners and I am so excited about it. One of my preschool teachers wanted a kit to help with teaching about community partners. Let me show what I came up with!
First, let me go right to our assessment tools and resources from the Expanded Core Curriculum. This way I can infuse skills in every aspect. I always go to my ECC tools first so I can have a clear picture of what skills, concepts, etc. I need to teach. I hit up the Independent Living Skills Assessment (ILSA) and Elementary Concepts from TSBVI (see earlier posts on using Elementary Concepts). There was a whole unit on community partners in Elementary Concepts so I copied the section for my teachers to use. Lots of good ideas for both core and Expanded Core learning (with art, music, writing, etc ideas). I also found some fun color and cut headbands from Totschooling.net (I signed up for free and they have all kinds of things). 
A picture of the Elementary Concepts community partners unit and the templates for the cut and color headbands
Next I hit up Pinterest and Teachers Pay Teachers to find some ideas and resources that general education is using. Remember, we always want to be in alignment with core and general education because it keeps our students included in their classrooms. Plus, TPT has GREAT finds that are pretty cheap. I love TPT!

Four of the movement community partners cards. For example: brush your teeth like a dentist
I found these awesome movement cards for $3.00 on TPT. They are available in large and small sizes (or in large print as I like to think of it...). Look at how great these cards are!! I had my intermediate grade students do all the Braille for me (bonus ECC instruction as we discussed as they brailled...). *You can't see the Braille labels very well but they are on there!*
I also went and found the props that go with each card. For example, a newspaper, wrench, toothbrush and cut up hose. Now we have meaningful tactual items for the movement. 
Screen shot of the Teachers Pay Teachers store where you can buy the movement cards
I happen to have some preschool items that I purchased for my early thoughts with dramatic play with community partners. You can easily hit up a Kid to Kid or other kids consignment shop for some items. I also purchased some from Lakeshore. Kids love to dress up for dramatic play (plus it's another ECC bonus because you can work on dressing skills!)

a picture of a doctor kit

an image of the mail carrier dress up outfit with Braille label
We added Braille labels to all the print labels on the dramatic play clothes. Add a little super glue (carefully!) so that the Braille labels stick long term. 

a picture of the back of the construction workers vest with Braille label on it

a photo of some of the community partners dress up outfits.

a photo of all the contents in the community partners kit
We packaged up the costumes into large ziploc bags and logged the contents. I like to do this to keep track of things. We are not done yet! We still have more items in our ECC kit. 

I also found this fun idea from Pinterest to build a photo town. Here's the link: http://www.toddlerapproved.com/2015/03/build-around-town-photo-wall.html.
There's lots of good ideas in this post! There are accessibility settings on phones (iPhones for sure) that allows students with vision impairments to take pics with feedback. Go around your town and take pictures of your town to build your photo town. See the post for more ideas. There are so many good ones that are totally doable for our students! Extend your ECC learning by visiting these places and taking your pictures there OR it can be ECC homework for students to do with their families. 
a photo of the blog post for the photo town
I decided to have some starter photos for our town so I Googled some free pics of things and made labels (with Braille on it--can't see in picture). It was easy peasy to make the board. Bonus ECC instruction: you can work in spatial skills directions because you can discuss top/botton, left/right and count squares and use systematic search patterns. 
a stack of photos from places around the community


a photo of the community partners kit
The last part of our kit has to do with signs in the community. We included a number of directional signs and this real working stoplight to talk about navigating around our community. This stoplight totally works! I found it at Hobby Lobby on sale for $40! It's got metal on it so it has an authentic feel. Plus it's great for students who have no vision who always hear people talking about a stop light but have never 'seen' it before. 
a photo of the toy street light from the kit
There is SO much learning that you can do with this ECC Community Partners kit! Other ideas include: asking members of the community to come to your classroom OR scheduling a visit to their location and build an experience book based on the community partners you learned about. Just make sure you hit up our ECC resources to see all the skills from play to compensatory skills that can be included. ILSA is a great tool for this! 
See you in the community!!


Friday, September 29, 2017

Name Activity for Early Childhood


Happy back to school friends! Sorry for time with no posts. It's been crazy but I have lots of fun ideas all saved on my phone to blog about so I promise to get caught up!
This post is inspired by a typical activity from preschool. I kept seeing all these fun name activities to teach students their names. The goal for our school is to transition our students back to their neighborhood schools so I always like to see what activities they are doing in typical classrooms. 
I found this fun name activities and with a few tweaks made them for our preschoolers. 

Student name in Braille and print

The name activity I made for our Braille readers have actual Braille and simulated Braille using buttons, felt circles or pins. The green dots are textured dots so students can point out individual letters. NOTE: The enlarged dots (made with buttons, pins, etc) are for our pre-Braille readers. It is to "warm up" their fingers and get them learning about the dot combinations. I also used Braille labels to type out their names in Braille. You can also use the ABC stickers from APH (ask your TVI for some stickers--they also have print  & Braille).


I used the KG Red Hands font to make these. I looked around for some free teacher fonts and I like this font because it has a bold and an outline of the font. It's easy to read (not a lot of visual clutter) but still looks like kid font. It is important to know what font size or just size that your little ones can see. Regular ed teachers may need a little support for this from TVIs.  Also, be careful about the white background with lamination. It might be too much glare for some kids (both the laminate and the white could be too much). I made a few other versions of these and used green outline to the letters because some of my students see green (or red) when those highlights are there. Make sure there is still contrast (meaning don't use green letters on green paper--that's probably too much green).

Make sure that whenever there is Braille that there is print as well (as a cheat for people that don't know Braille). See the above picture with the Braille cards.  The teachers had a great idea of putting a straight line of Velcro so students can just put their letters on the line.

Remember to keep your Braille labels consistent like the ones in the picture above. I didn't want our students to feel all over the paper to find the Braille. The Braille letters of Maeve's name are consistent--they are straight and in the same place so she can track.  I liked this idea because it is something that our kids will recognize when they move to the district in an early childhood class. We did make some printouts (with the same font--in the outline version) so our kids could trace and start their writing skills. These are easy to make! You just need cardstock (I also like to add a pop of color as a frame), laminate (they also make non-glare laminate if you have students that are sensitive to glare), Velcro and items to make your Braille (be careful of the size of the buttons. I noticed that one set of sim Braille was a little too big for our students' little fingers).  Best part of this whole activity: it's teaching the Expanded Core Curriculum!

Friday, February 10, 2017

ECC Valentine's Day Activities


Happy Valentine's Day everyone! It's that time of year to stock up on CVI supplies since so many stores are carrying shiny red everything. Hit up our favorite CVI supply hot spots like Dollar Tree and Michael's for sweet deals. I was just at Michael's and they have all Valentine's day decorations for 40% off. 

I teamed up again with our awesome preschool teacher, Annie, to develop some Valentine's Day that teach Expanded Core skills and are fun to do. At our school (Utah School for the Blind), we are big on using curriculum that is specific for children with vision impairments. One of our favorite curriculums is the Texas School for the Blind Elementary Concepts Curriculum (if you don't know much about this, come right back to my blog because I am blogging about it NEXT!).  We used some units from TSBVI ECC with some fun ideas we found on Pinterest to create some awesome Expanded Core Valentine's Day activities. 

Check them out:
Activity #1: Love Potion

Materials: kool aid, clear cups, Sprite, water, red food coloring

Activity: Students can choose to make their love potion using water and kool aid or with Sprite and food coloring. Students can compare and contrast flavors and taste.
Expanded Core Main Areas: ILS, SD, SS, SE


Activity #2 Conversation Hearts
From TSBVI ECC Friend Unit (page 24)
Materials: candy conversation hearts, cutout hearts
Activity: teacher writes/Braille conversation starters and finisher on hearts. Each student takes a turn selecting a heart and identifies if it is a conversation starter or finisher. Teachers can put print words in a smaller print to create a magnifier use activity. Students may use a magnifier to read the print. Students can eat conversation hearts on their turn.  Follow objectives a, b and d from Others Unit B: Friends, page 24 in TSBVI ECC
Expanded Core Main Areas: SS, Comp, SD, CE, C
Write conversation phrases on hearts. Use an optical device to practice reading or locating text.
Add a Braille label for students who are learning Braille. 

Activity #3 Friendship Cookie
From TSBVI ECC Friend Unit page 30
Materials: cookie dough, cookie cutter
Activity: From TSBVI ECC, follow activity #3. Activity #5 for an additional cooking activity. Students each make their own cookie and then they merge them together to make one big cookie. If possible, let the kids put them in/take out the oven.
Expanded Core Main Areas: ILS, SS, SD, SE


Activity #4 Heart Hunt
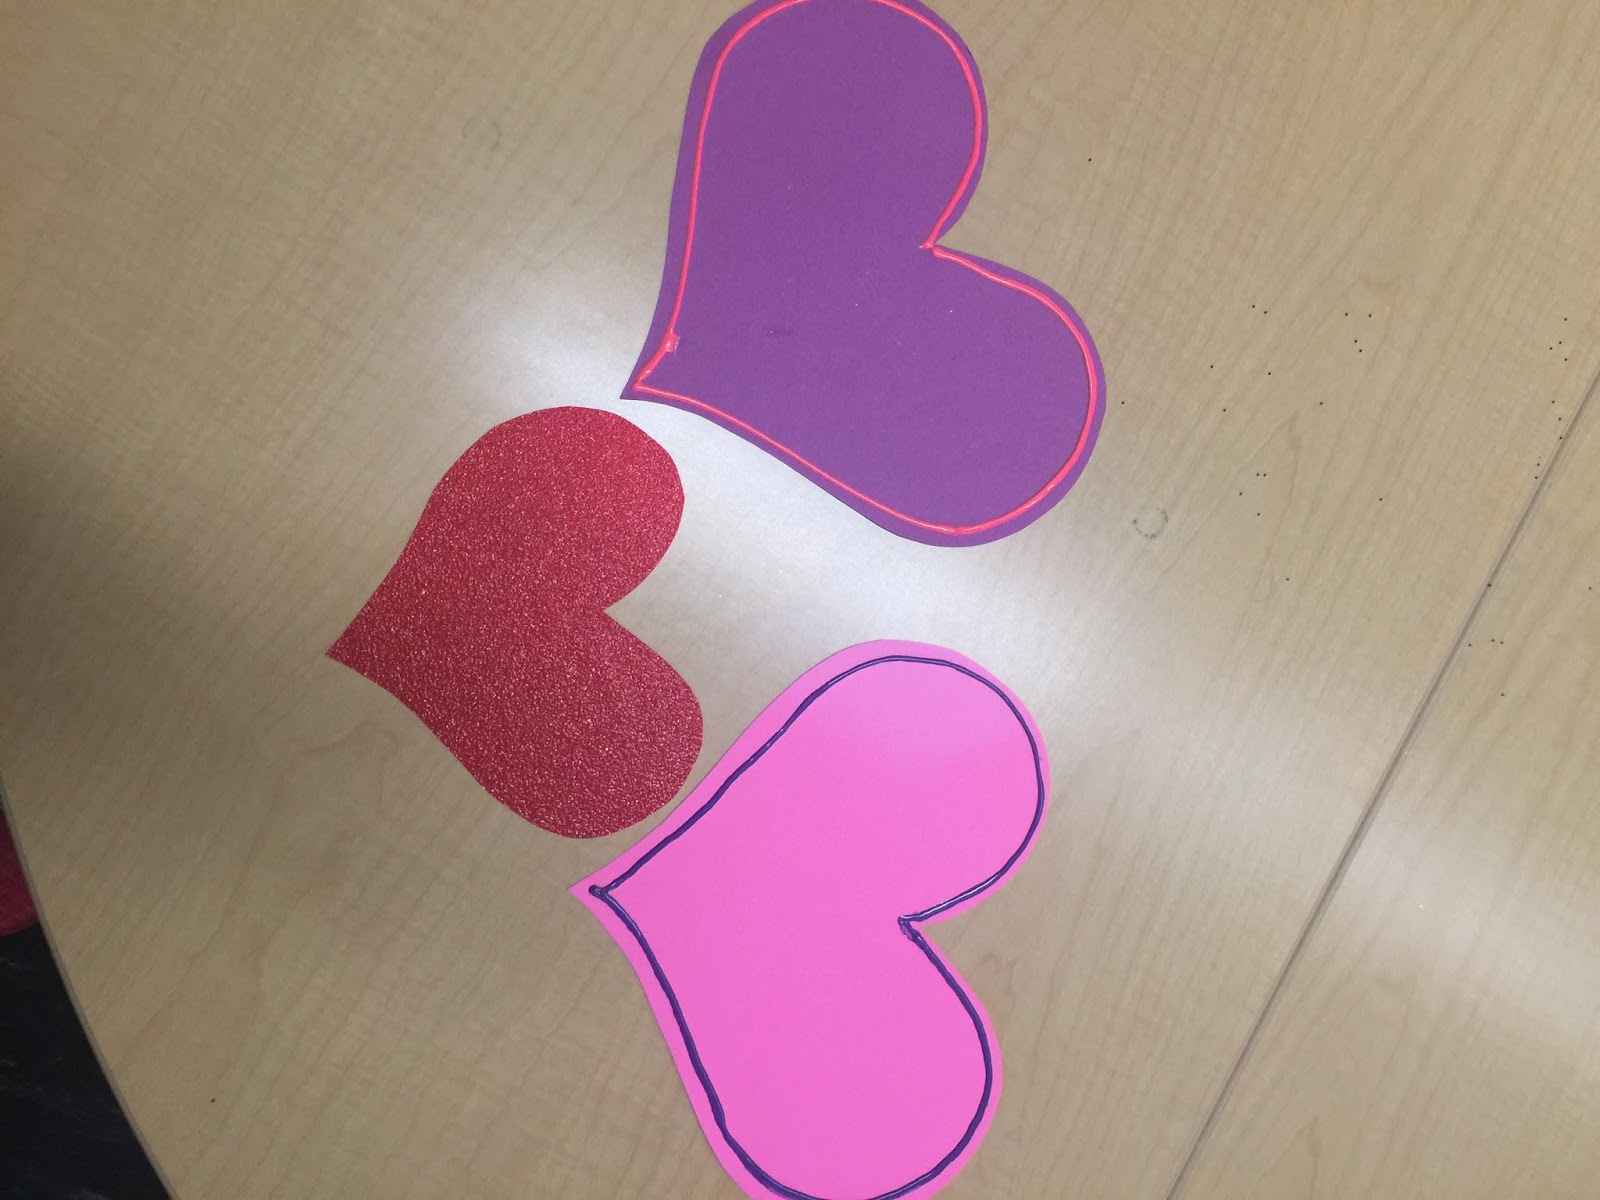
Materials: cutout hearts in a variety of colors and textures
Activity: Send students on a heart hunt. Give them a selected color or texture to find around the wheelchair tray, classroom or the hallway.
Expanded Core Main Areas: OM, SE, SD, C

Activity #5 Heart Attack

Materials: cutout hearts in different colors/textures, directions cards
Activity: Students can select a classroom door to “heart attack”. Teachers prepare 4 different direction cards with up or top, down or bottom, left and right printed on them in print and Braille. Teachers can draw an arrow (and add texture for blind students) to indicate directions. Students select a direction card and put the heart on the door that correlates to the direction. For example, student selects “bottom” card and places the heart on the bottom of the door.

Expanded Core Main Areas: OM, C, SS, RL, SE


direction cards. Annie put the card on the door and her student had to place their valentine heart in the correct direction. 

Some heart cutouts used puff paint for texture. Other hearts were made with textured paper from the Carousel of Textures from APH.